Home screen & operating modes
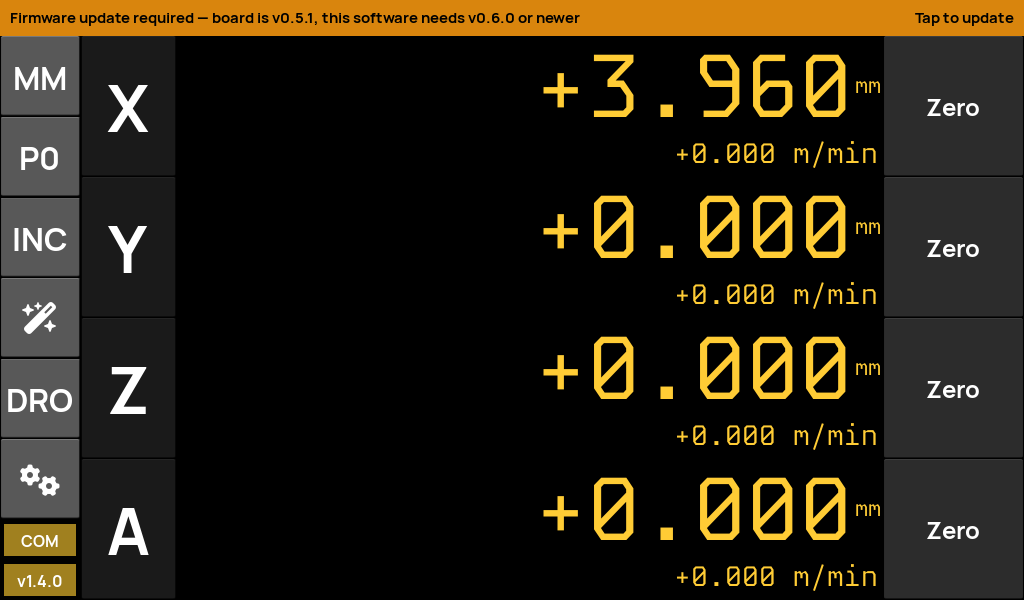
The home screen is the working surface. A left action rail carries the persistent controls; the centre shows the axis read-outs; the right column has per-axis Zero buttons. The bottom strip changes with the selected mode.
The action rail
- MM / IN — toggle metric / imperial. Digits and feed units follow the Formats settings.
- P0 / P… — cycle tool / preset offset slots.
- ABS / INC — absolute vs incremental read-out.
- Wand — pattern & plot tools (opens the plot view).
- Mode — the current mode (IDX / ELS / JOG / DRO); tap to switch.
- Gears — jump into Setup.
- COM / version — link state and app version pinned at the bottom.
A full-width amber banner appears here automatically when the connected board firmware is older than the app requires — tap it to jump straight to the firmware updater.
The four modes
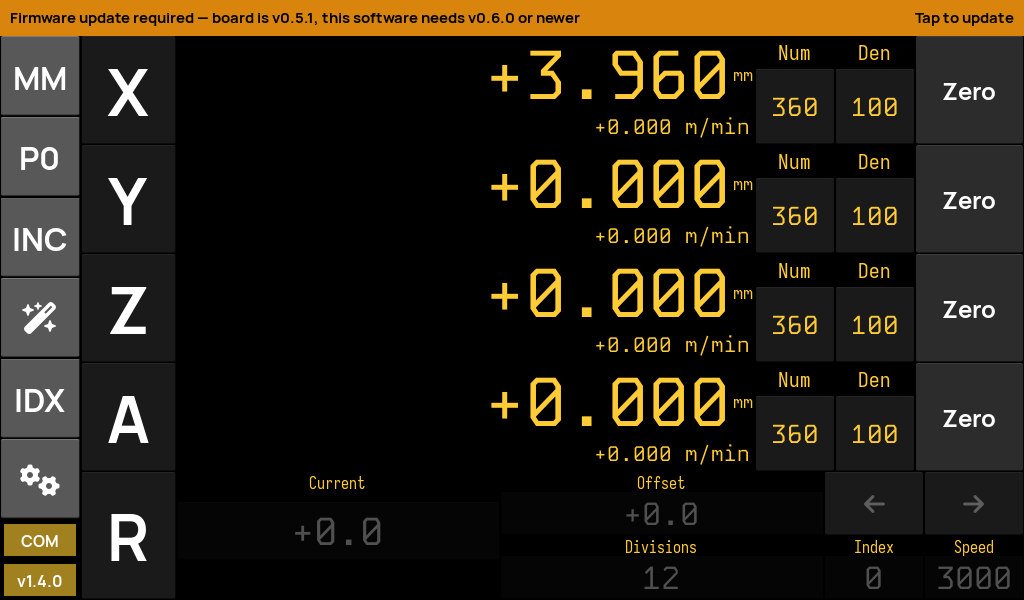
Index
Rotary-table work: set a number of divisions, then step to each index position with the arrow keys. Shows current position, offset, division count and target speed.
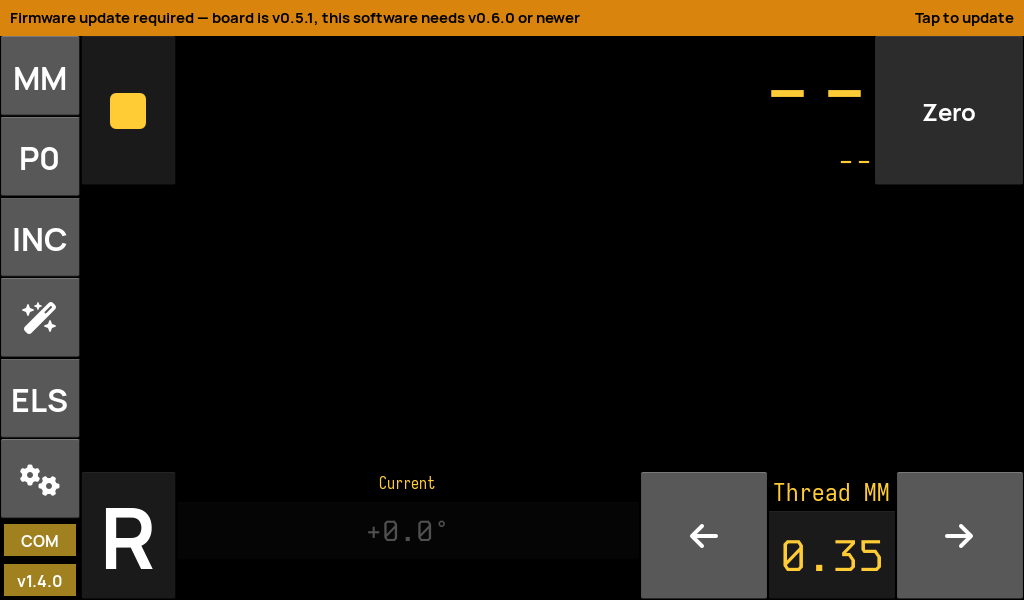
Electronic lead screw
Threading and power-feed synchronised to the spindle. Pick a thread pitch (mm/TPI) and the follower axis tracks the spindle through the configured ratio.
Jog
Continuous jogging. A live speed field (capped by the servo max), a position read-out, and Jog ← / Start / Jog → controls.
Read-out
Pure digital read-out — no motion controls, the largest possible digits, per-axis feed-rate underneath.
Scale inputs & encoder filtering
drDRO reads up to four hardware scale inputs — glass scales, magnetic encoders or a spindle encoder. Setup → Inputs lists them; each opens a per-input configuration screen.
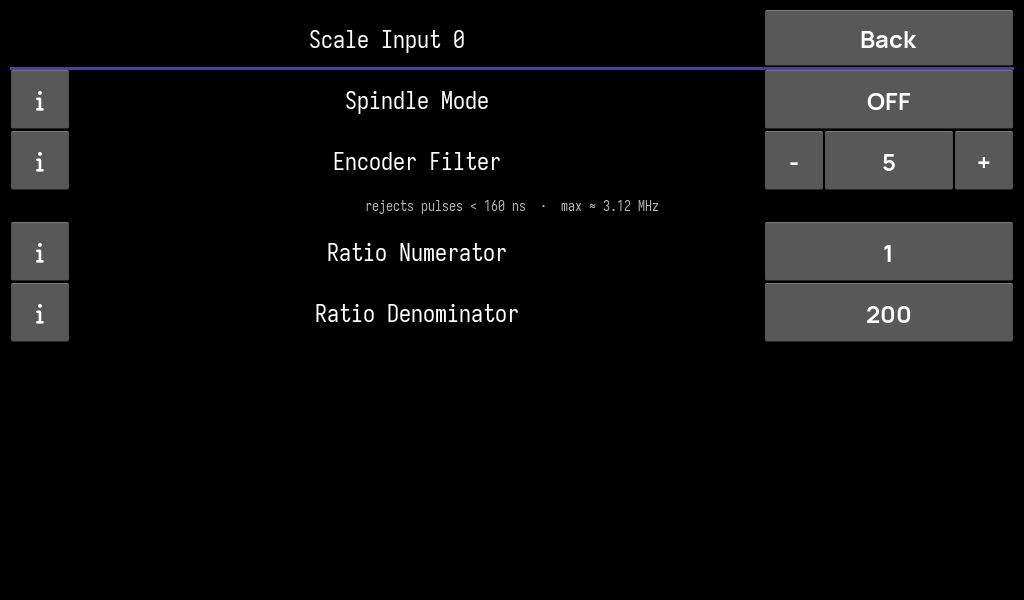
Per-input settings
- Spindle Mode — mark this input as the spindle source for sync / ELS.
- Encoder Filter — the board's hardware input filter (0–15). A live readout shows the reject time and maximum frequency for the chosen level (e.g. level 5 → rejects pulses < 160 ns, max ≈ 3.12 MHz). Persisted in the board flash and re-applied on connect.
- Ratio Numerator / Denominator — counts-to-units calibration for this scale (e.g. 1 / 200 for a 200 count/mm encoder).
The encoder filter reprograms the STM32 timer's input filter live, so a noisy shop encoder can be cleaned up without recompiling firmware.
Axes & transforms
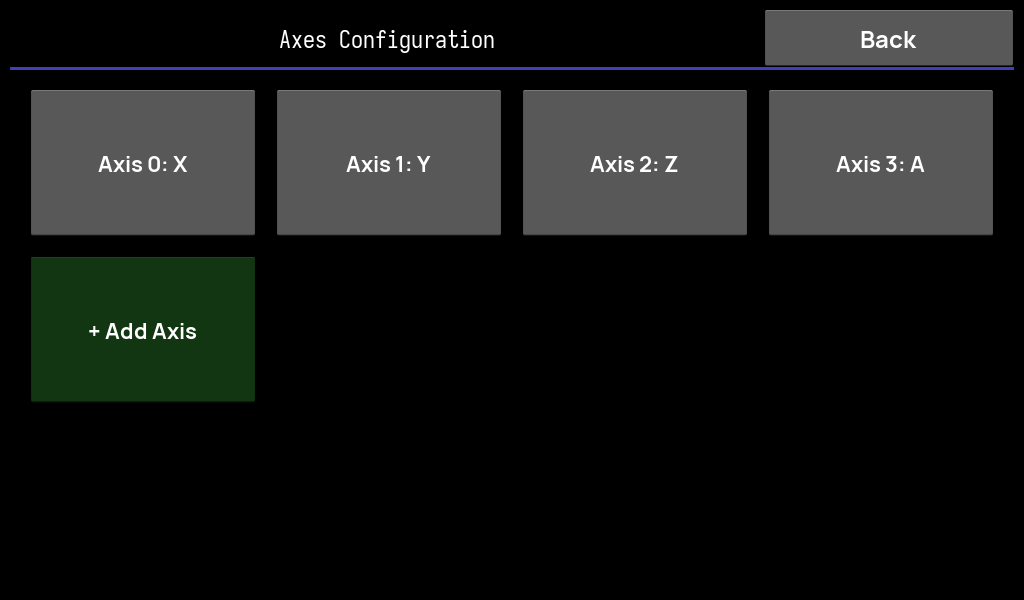
Axes are the display abstraction layered on top of the raw scale inputs. Setup → Axes lists the configured axes (X, Y, Z, A…) and lets you add or remove them.
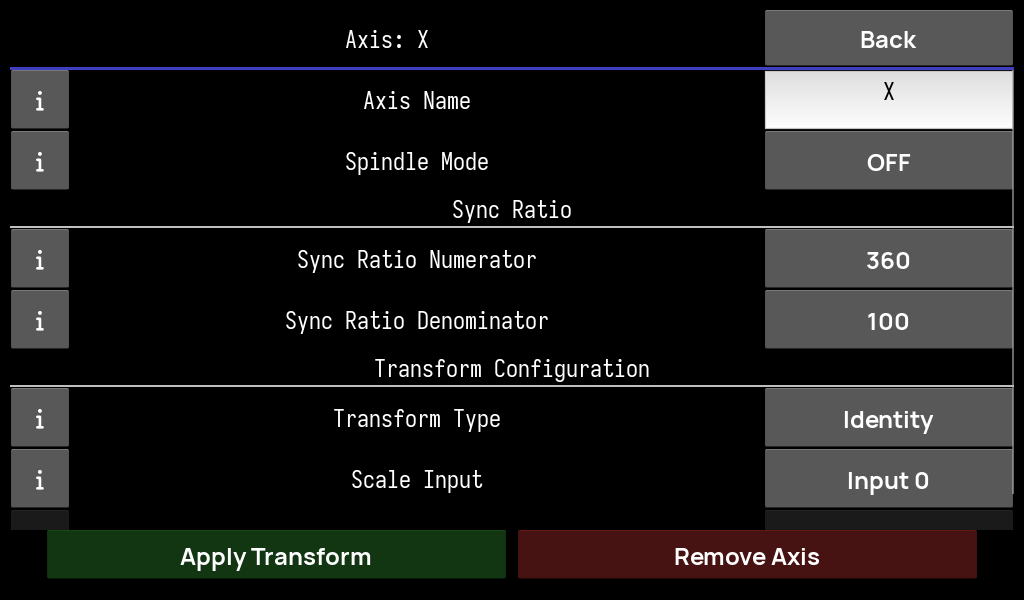
Per-axis settings
- Axis Name — the label shown on the read-out (X / Y / Z / A or anything you like).
- Spindle Mode — whether this axis represents the spindle.
- Sync Ratio (Num / Den) — the user gear ratio folded into the live sync calculation.
- Transform Type — Identity (one input straight through) or Sum (combine inputs, e.g. a compound/summed axis).
- Scale Input — which hardware input(s) drive this axis.
Editing is confirmed with Apply Transform; Remove Axis deletes it.
Servo & motion control
Setup → Servo configures the driven axis (stepper/servo). Speed and acceleration live in the board's flash — read on connect, written and saved when you change them.
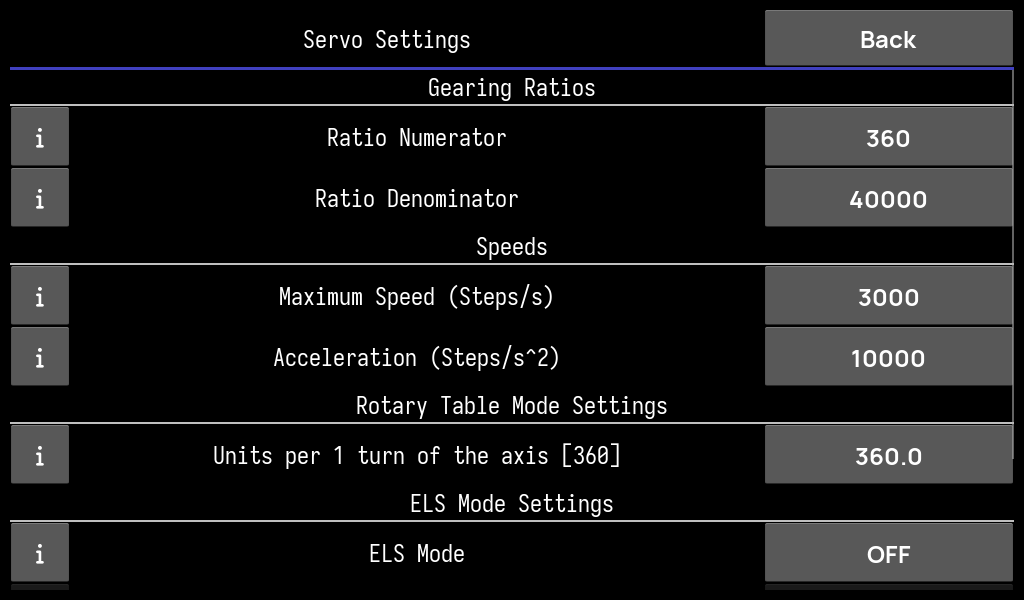
Servo settings
- Ratio Numerator / Denominator — steps-per-turn gearing (e.g. 360 / 40000).
- Maximum Speed (steps/s) — the step-pulse cadence ceiling. Board-stored.
- Acceleration (steps/s²) — ramp rate. Board-stored.
- Units per 1 turn — rotary-table degrees (or units) per revolution.
- ELS Mode & related fields — enable lead-screw behaviour and its parameters.
A separate board-side index feedrate caps offset/indexing ramps so a move never has to lower the max speed a simultaneous sync follower is riding.
Electronic lead screw (ELS)
Setup → ELS assigns the machine roles used by lead-screw and lathe workflows.
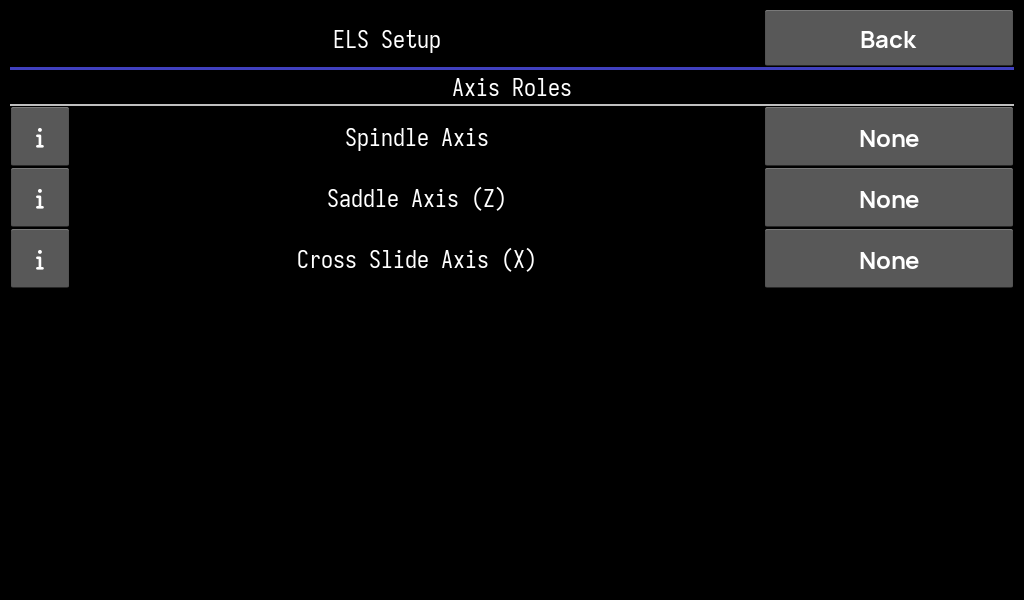
Axis roles
- Spindle Axis — the encoder that measures spindle rotation.
- Saddle Axis (Z) — the longitudinal lead-screw axis (threading / feed along the bed).
- Cross Slide Axis (X) — the cross-feed axis.
With roles assigned, ELS mode on the home screen synchronises the saddle to the spindle at the chosen thread pitch, driving repeatable single-point threading and powered feeds.
Pattern plotting
The plot view is an interactive coordinate canvas for laying out and following hole patterns. Reach it from the wand icon on the home rail.
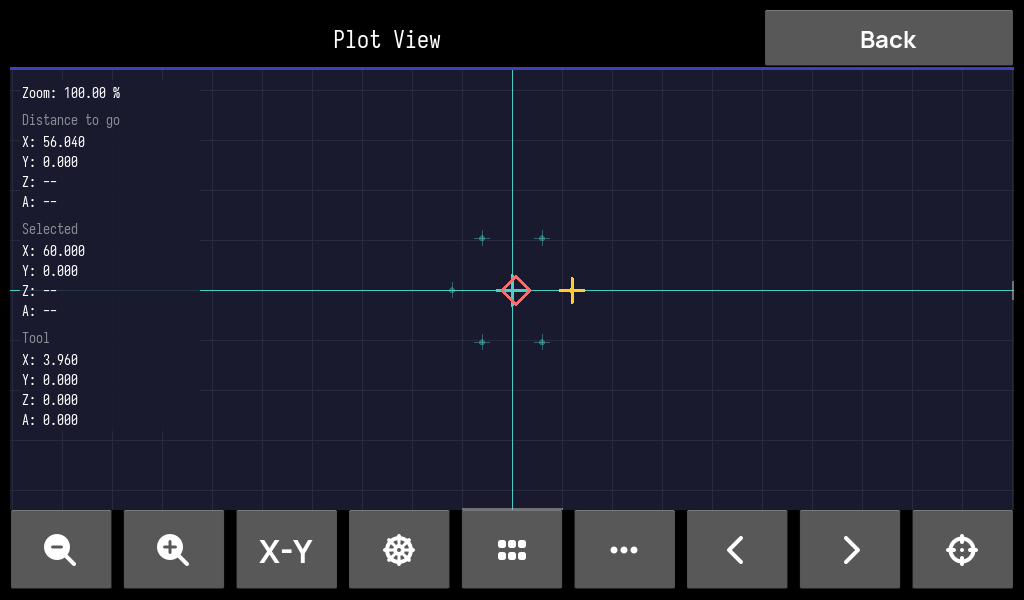
What it shows
- Circle, line & rectangular patterns computed from a popup form.
- Pan & pinch-zoom canvas with a live zoom percentage.
- Distance to go, selected point and tool position overlays per axis.
- Toolbar: zoom, X-Y fit, pattern picker, grid toggle, and previous / next point stepping with a centre-on-tool button.
Formats & appearance
drDRO is fully themeable. Setup → Formats controls number formatting and display preferences, with dedicated colour and font pickers.
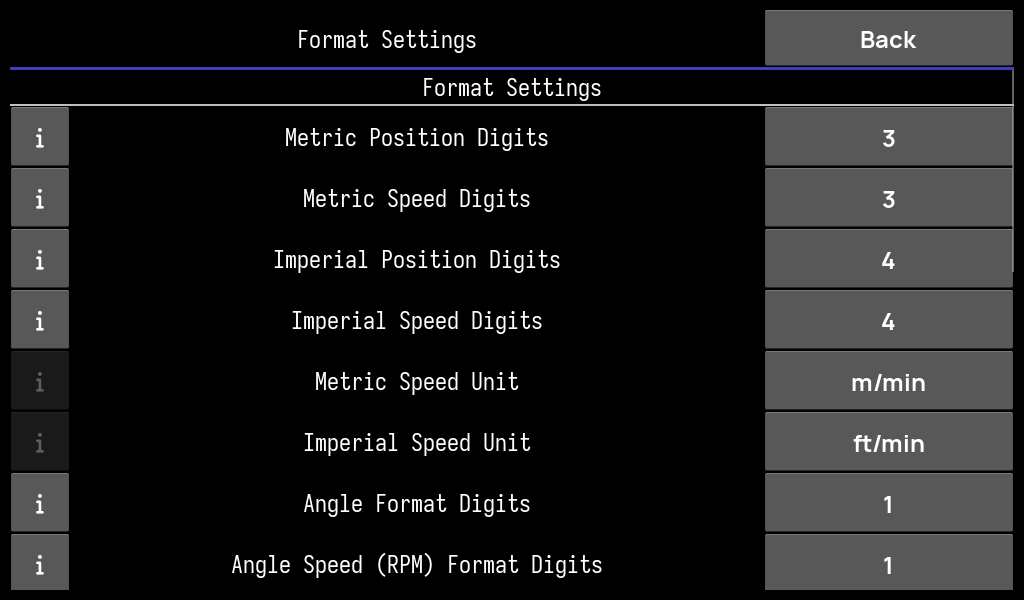
Format settings
- Metric / Imperial position & speed digits — decimal places per unit system.
- Speed units — m/min, ft/min and angular RPM formatting.
- Angle digits for rotary read-outs.
- Display colour, font & size, key-press volume, hide-mouse-cursor, and error-reporting toggles.
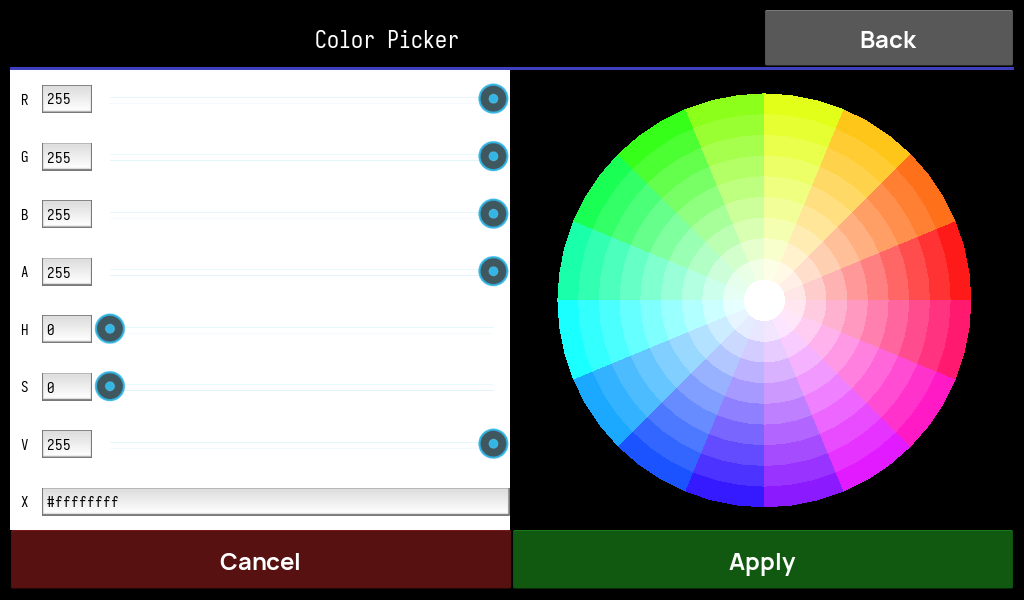
Colour picker
Full RGBA + HSV picker with a colour wheel and hex field — set the amber read-out colour to whatever suits your panel.
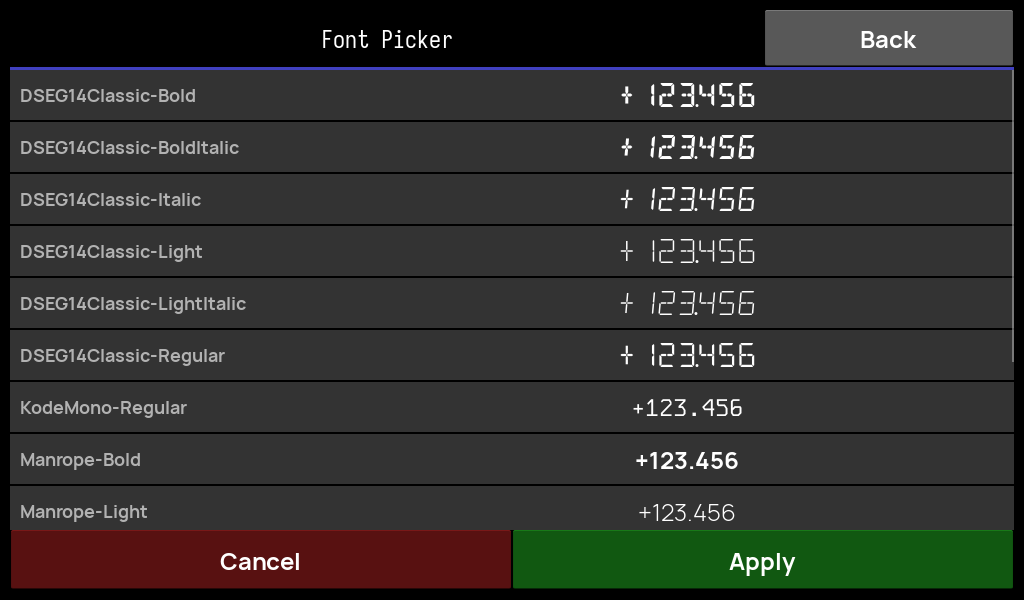
Font picker
Choose the read-out typeface — the classic seven-segment DSEG14 faces, or clean modern fonts (Kode Mono, Manrope), each previewed live.
Network / Wi-Fi
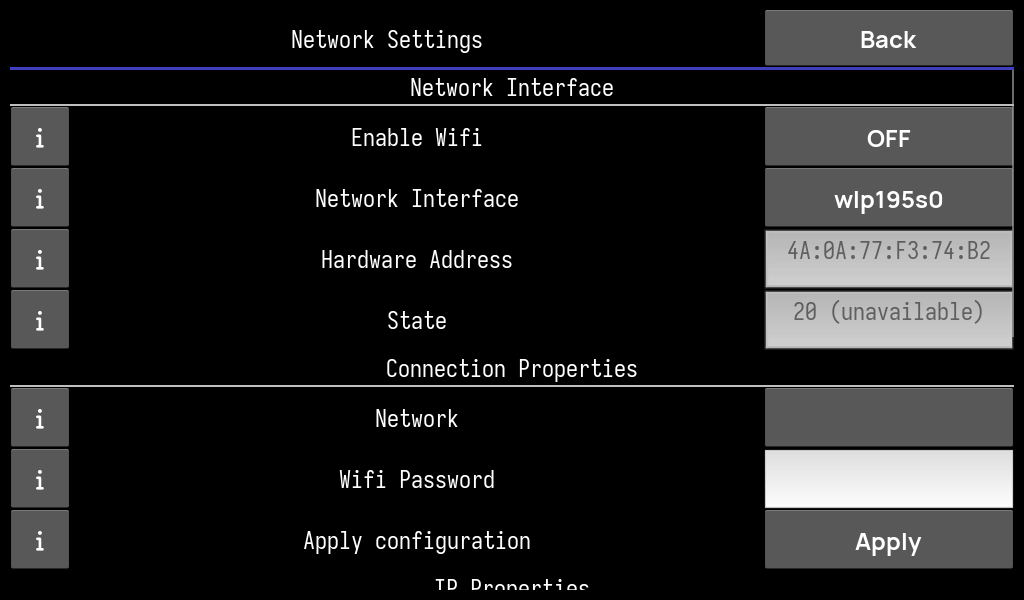
Setup → Network manages Wi-Fi through NetworkManager (nmcli): enable the radio,
see the interface, MAC and link state, pick an SSID, enter the password and apply — plus the resulting IP properties.
On the appliance image this configures the Pi's onboard or USB Wi-Fi directly, so a headless machine can join a network from the touchscreen.
Machine profiles
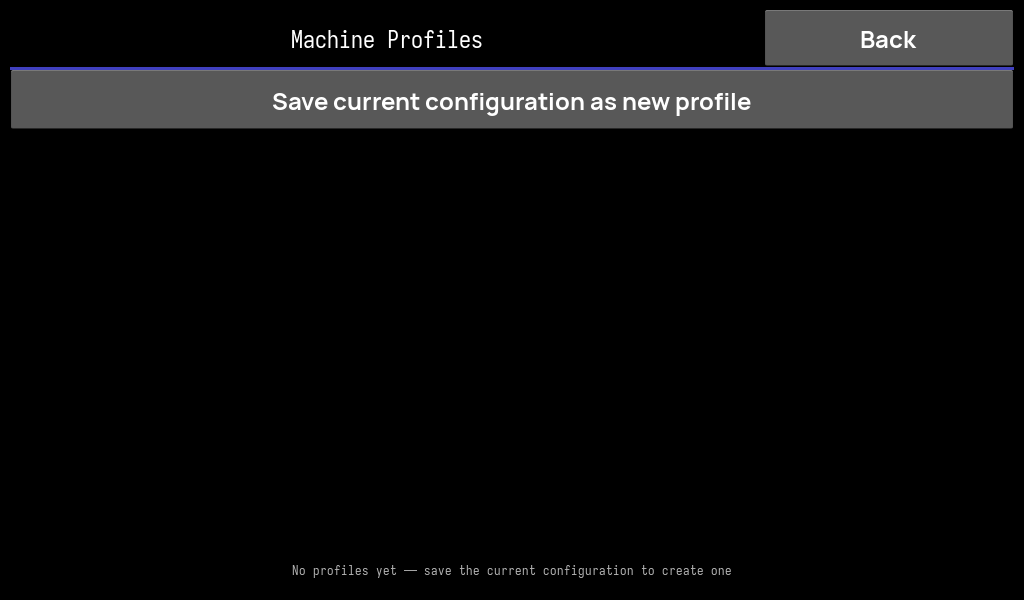
Setup → Profiles snapshots a complete machine configuration — the board-persisted variables and the host-side axis / input / servo / ELS settings — into a named profile.
- Save the current configuration as a new profile.
- Apply a profile to switch machines: it takes a timestamped backup, rewrites the host files, pushes & saves the board section, then restarts the app.
- Each profile records its name, creation date and the software / firmware versions it was made with.
Board firmware update & bank management
drDRO flashes the STM32 board's firmware over the same RS-485 wire — no ST-Link, no moving cables. The board runs a dual-bank IAP bootloader, so updates are safe and reversible.
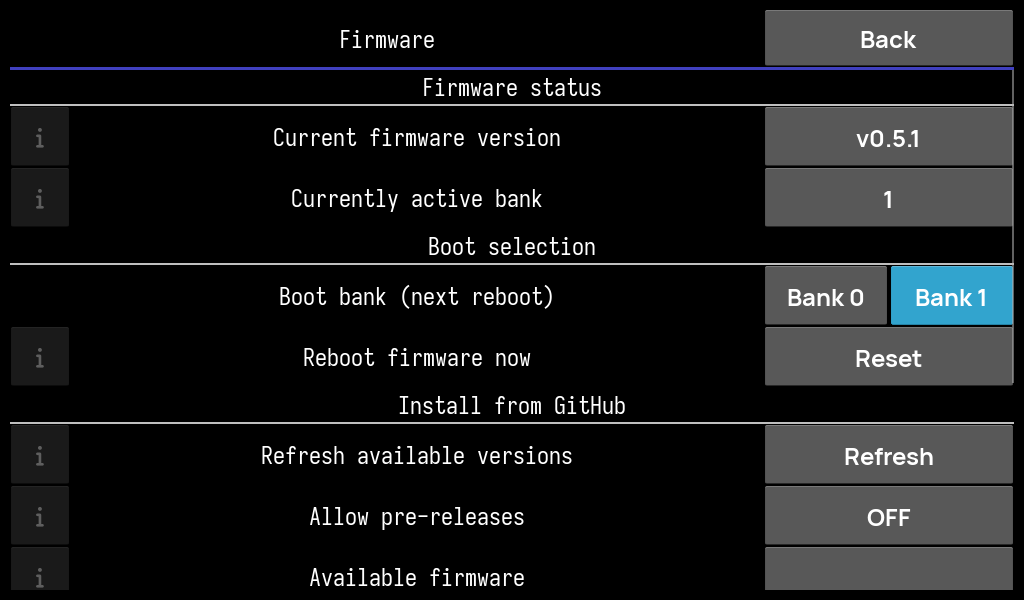
What you can do
- See status — current firmware version and the active bank.
- Select the boot bank for the next reboot (Bank 0 / Bank 1) and reboot the board on demand.
- Install from GitHub — refresh the release list (optionally including pre-releases), pick a version, and flash it over YMODEM with a live progress bar and status log.
- Backup & restore — the updater snapshots board settings before flashing and restores anything a settings-layout change would have wiped.
The home-screen compatibility banner watches the connected firmware version and prompts an update whenever the app starts using a newer protocol variable — so the software and board never drift out of sync.
Software self-update
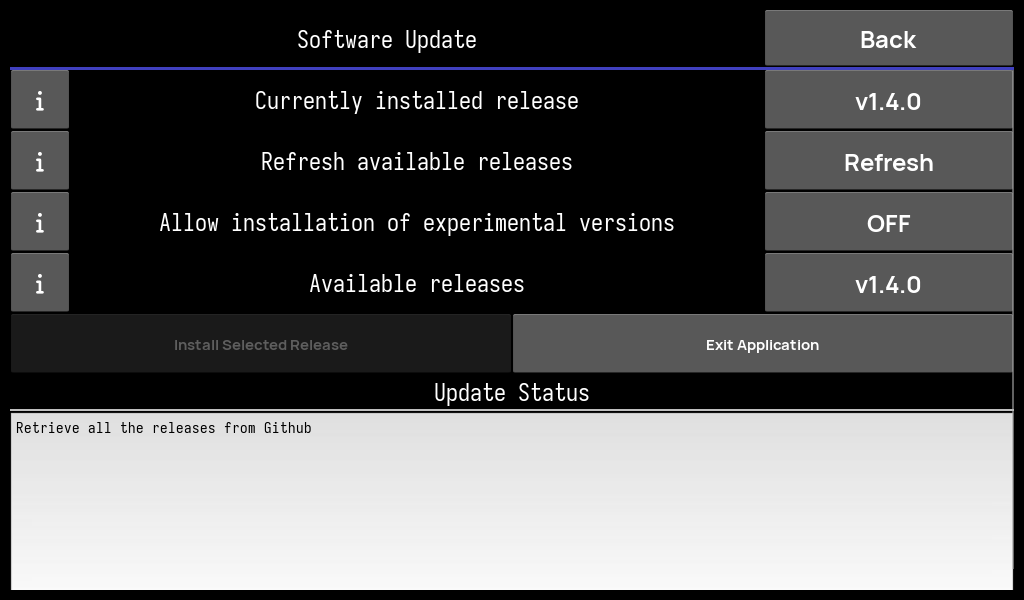
Setup → Update updates the drDRO app itself. It lists the releases published on GitHub, shows the currently installed version, and installs the one you pick into the appliance's app venv.
- Refresh available releases from GitHub (TLS-verified).
- Optionally allow experimental / beta prereleases.
- Install the selected release; a status pane reports progress.
This is distinct from the board firmware updater above — one updates Python, the other flashes the STM32.
System & maintenance
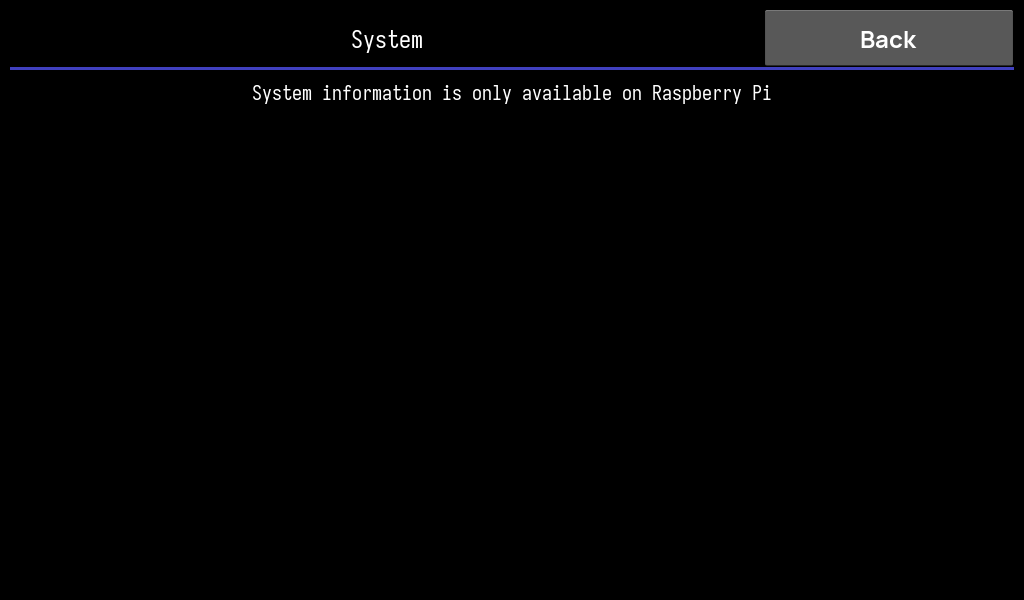
Setup → System exposes Raspberry-Pi maintenance: storage usage, growing the root partition to fill the SD card, and rebooting. On a desktop it simply reports that system tools are Pi-only.
On the appliance image the root filesystem also auto-grows on first boot, so this is mostly for inspection and reboots.
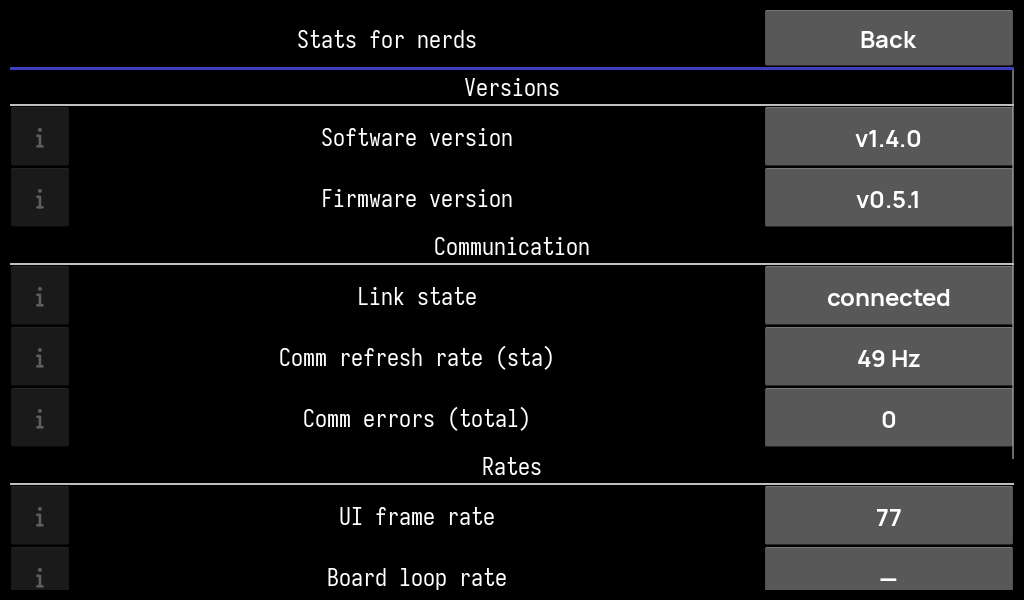
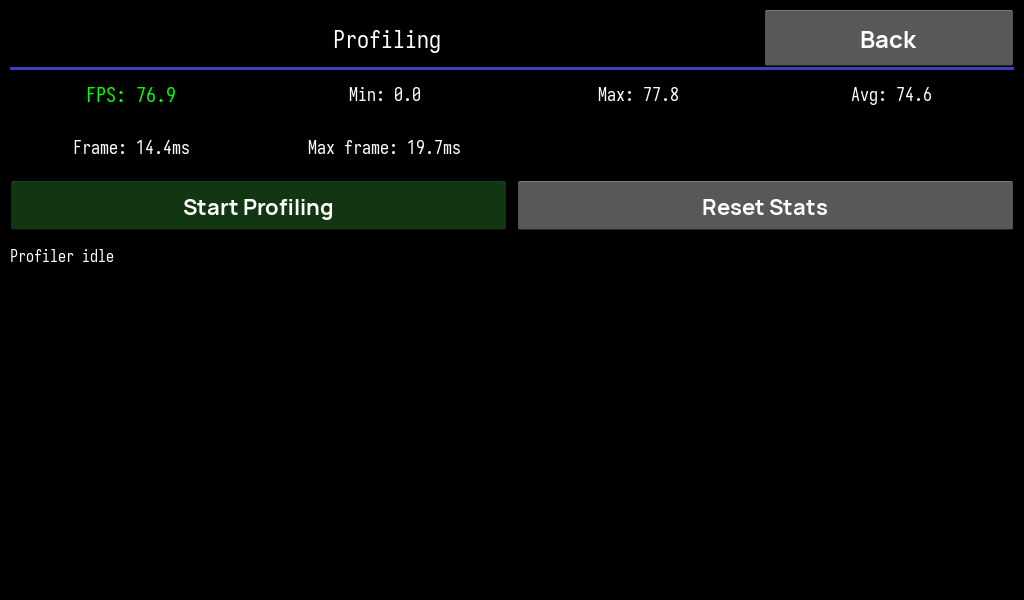
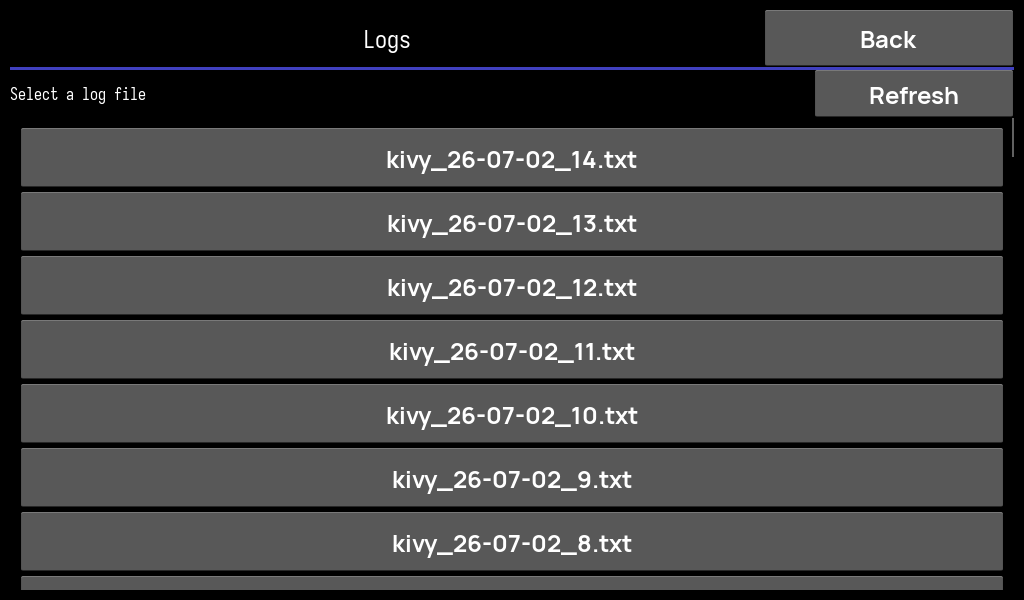
Diagnostics
Three screens help you see what the machine is doing under the hood.
Ready to run it?
Flash the appliance image to an SD card, or run the app on your Linux desktop.